Gyms have plenty of unwritten rules, but a proper guide to the equipment somehow never made the cut. Most of us just watched whoever looked like they knew what they were doing and copied them. This is all well and good until you find out they were winging it too.
But getting a machine wrong isn’t something to beat yourself up about. At best it just means your workouts are less effective than they could be. At worst, though, your joints will eventually let you know about it.
This article is a quick guide to eight of the most commonly misused machines in the gym, and how to get each one right.
1. Smith Machine
The Smith Machine gets a bad reputation, mostly from people using it as a straight swap for a barbell squat. The problem is that its fixed vertical bar path forces an unnatural movement that can strain your knees and lower back if you’re squatting directly underneath it. Its real strengths lie in incline presses, Bulgarian split squats, hip thrusts, and assisted lunges, where the fixed path is actually an advantage. Think of it as a specialist, not a generalist.
How to Use:
- Position the bar at an appropriate height for your chosen exercise, whether that’s chest level for a press or hip height for a hip thrust
- Stand slightly in front of or behind the bar depending on the movement, rather than directly underneath it for squats
- Engage your core before unracking and maintain a neutral spine throughout the lift
- Control the descent slowly, then drive powerfully on the way up
- Re-rack by rotating the bar back onto the hooks with a slight wrist turn
2. Rowing Machine
The rowing machine is probably the most technically misunderstood piece of cardio equipment in the gym. Most people pull with their arms first and barely use their legs at all, which means they’re missing out on roughly 60% of the machine’s power output. The drive should begin with your legs, followed by a hip hinge, and only then your arms. Done correctly, it’s one of the more efficient full-body workouts available—yes, full—burning serious calories while building back, core, and leg strength simultaneously.
How to Use:
- Sit with feet strapped in at a comfortable angle and grip the handle with an overhand grip, arms extended
- Begin each stroke by pushing through your heels, extending your legs fully before leaning back slightly from the hips
- Once your legs are nearly straight and your torso is at roughly 11 o’clock, pull the handle to your lower chest or upper abdomen
- Return in the reverse order: arms extend first, then hinge forward at the hips, then bend the knees to slide back to the start
- Keep your core braced throughout and avoid hunching your shoulders towards your ears
3. Lat Pulldown Machine
Two things happen on the lat pulldown machine that shouldn’t: people pull the bar behind their neck, and people yank it down using momentum rather than muscle. Pulling behind the neck puts your cervical spine in a vulnerable position and shifts stress onto the wrong structures. Instead, the bar should come to the front, just below the chin. Beyond that, the movement only works if your lats are actually doing the pulling, which means initiating with your shoulder blades, not your biceps.
How to Use:
- Adjust the knee pad so your thighs are secured and your feet are flat on the floor
- Grip the bar slightly wider than shoulder width with an overhand grip and lean back very slightly at the torso (about 10 to 15 degrees)
- Before you pull, retract and depress your shoulder blades as if trying to tuck them into your back pockets
- Pull the bar towards your upper chest, leading with your elbows driving down and back
- Allow the bar to rise slowly and with control, feeling a full stretch in your lats at the top before initiating the next rep
4. Leg Press Machine
Foot placement on the leg press machine changes everything, but the reality is most people just plonk their feet somewhere in the middle without thinking about it. A low foot placement shifts more stress onto your quads, while a higher placement recruits the hamstrings and glutes more. What’s consistently problematic regardless of foot position is going too heavy and letting your lower back peel off the pad at the bottom—that’s your lumbar spine absorbing load it was never designed to take. Locking out your knees at the top of the movement is another one to watch, because it dumps the load directly onto the joint just as the muscle stops working, which is as bad an idea as it sounds.
How to Use:
- Adjust the seat so your knees form roughly a 90-degree angle when your feet are on the platform
- Place your feet at shoulder width with toes slightly turned out, positioning them in the middle of the platform to start
- Release the safety handles and lower the platform slowly, stopping before your lower back lifts off the seat
- Press evenly through your entire foot (not just your toes) to extend your legs, stopping just short of locking out your knees
- Re-engage the safety handles before releasing the weight between sets
5. Cable Crossover Machine
The cable crossover machine is one of those pieces of equipment where being slightly off with your setup leads to a completely different exercise than the one you intended. The height of the pulleys matters enormously: high pulleys target the lower chest, mid-height works the mid-chest, and low pulleys are for upper chest flies. Pulley height aside, most people don’t control the return phase at all, which is a shame because that’s where a surprising amount of the muscle-building work occurs. Letting the cables snap back means throwing away the very tension that makes this machine so effective for muscular development.
How to Use:
- Set both pulleys to the same height based on the part of the chest you’re targeting
- Stand in the centre of the machine, stagger your stance slightly for stability, and hold one handle in each hand
- Lean forward marginally at the hips and maintain a slight bend in your elbows throughout the entire movement
- Bring both handles forward and towards each other in a wide arc, as though hugging a large barrel, until your hands meet at the centre
- Resist the weight as your arms return to the start position, controlling the movement for a full three to four seconds
6. Seated Chest Press
You’d think a fixed machine would take the uncertainty out of training, but the seated chest press is regularly set up incorrectly. The most common issue is seat height. High handles make you press at an awkward angle that loads your shoulder joints instead of your chest. Instead, the handles should sit at mid-chest level, roughly in line with your nipples when seated. Also worth noting: a death grip on the handles tends to route the effort into your forearms rather than your chest and triceps. Unless your forearms are the ones that need work, ease off the handles and let your chest take over.
How to Use:
- Adjust the seat height so the handles align with the middle of your chest
- Sit with your back fully in contact with the pad, feet flat on the floor, and grip the handles at shoulder width
- Before pressing, squeeze your shoulder blades together and down to create a stable base (this protects your rotator cuff and engages the chest more effectively)
- Press the handles forward until your arms are nearly straight, without locking out your elbows
- Return slowly to the start, allowing a slight stretch across your chest before initiating the next rep
7. Shoulder Press Machine
The shoulder press machine punishes poor setup more than almost any other piece of kit. If the seat is too low, your elbows end up flaring out wide at the bottom of the movement, placing significant stress on the acromioclavicular joint, that small but important joint at the top of your shoulder. If the seat is too high, your range of motion is cut short and the deltoids never fully lengthen. The goal is to begin with your elbows at roughly 90 degrees, handles just above ear height.
How to Use:
- Adjust the seat so the handles begin at roughly ear height when you’re seated upright
- Sit tall with your lower back supported by the pad, feet planted firmly on the floor or the machine’s foot rests
- Grip the handles with your palms facing forward, keeping your wrists straight and neutral throughout
- Press upward until your arms are nearly fully extended, avoiding locking out at the top
- Lower the handles back down in a controlled manner until your elbows return to 90 degrees, then press again without using momentum from a bounce
8. Chest Fly Machine
The chest fly machine is often either underloaded (used as a warm-up afterthought) or overloaded to a weight that turns a controlled arc into a shoulder-damaging grind. The pec deck is at its best as an isolation movement, meaning it works precisely because you’re not swinging through it. Many people also let the pads travel too far back behind their torso at the open position, which puts the shoulder in an externally rotated and loaded position that the joint simply isn’t designed to handle under strain.
How to Use:
- Adjust the seat height so your elbows and upper arms are at shoulder level when placed on the pads, with arms forming a roughly 90-degree angle
- Sit upright with your back flat against the pad and feet grounded, avoiding arching your lower back to generate force
- Initiate the movement by squeezing your chest muscles, bringing both pads forward in a smooth arc until they meet or nearly meet in front of you
- Pause briefly at the point of peak contraction, then open outwards slowly, stopping before your elbows travel behind your torso
- Use a weight that allows full control throughout; if you can’t stop the pads from slamming at the back, reduce the load
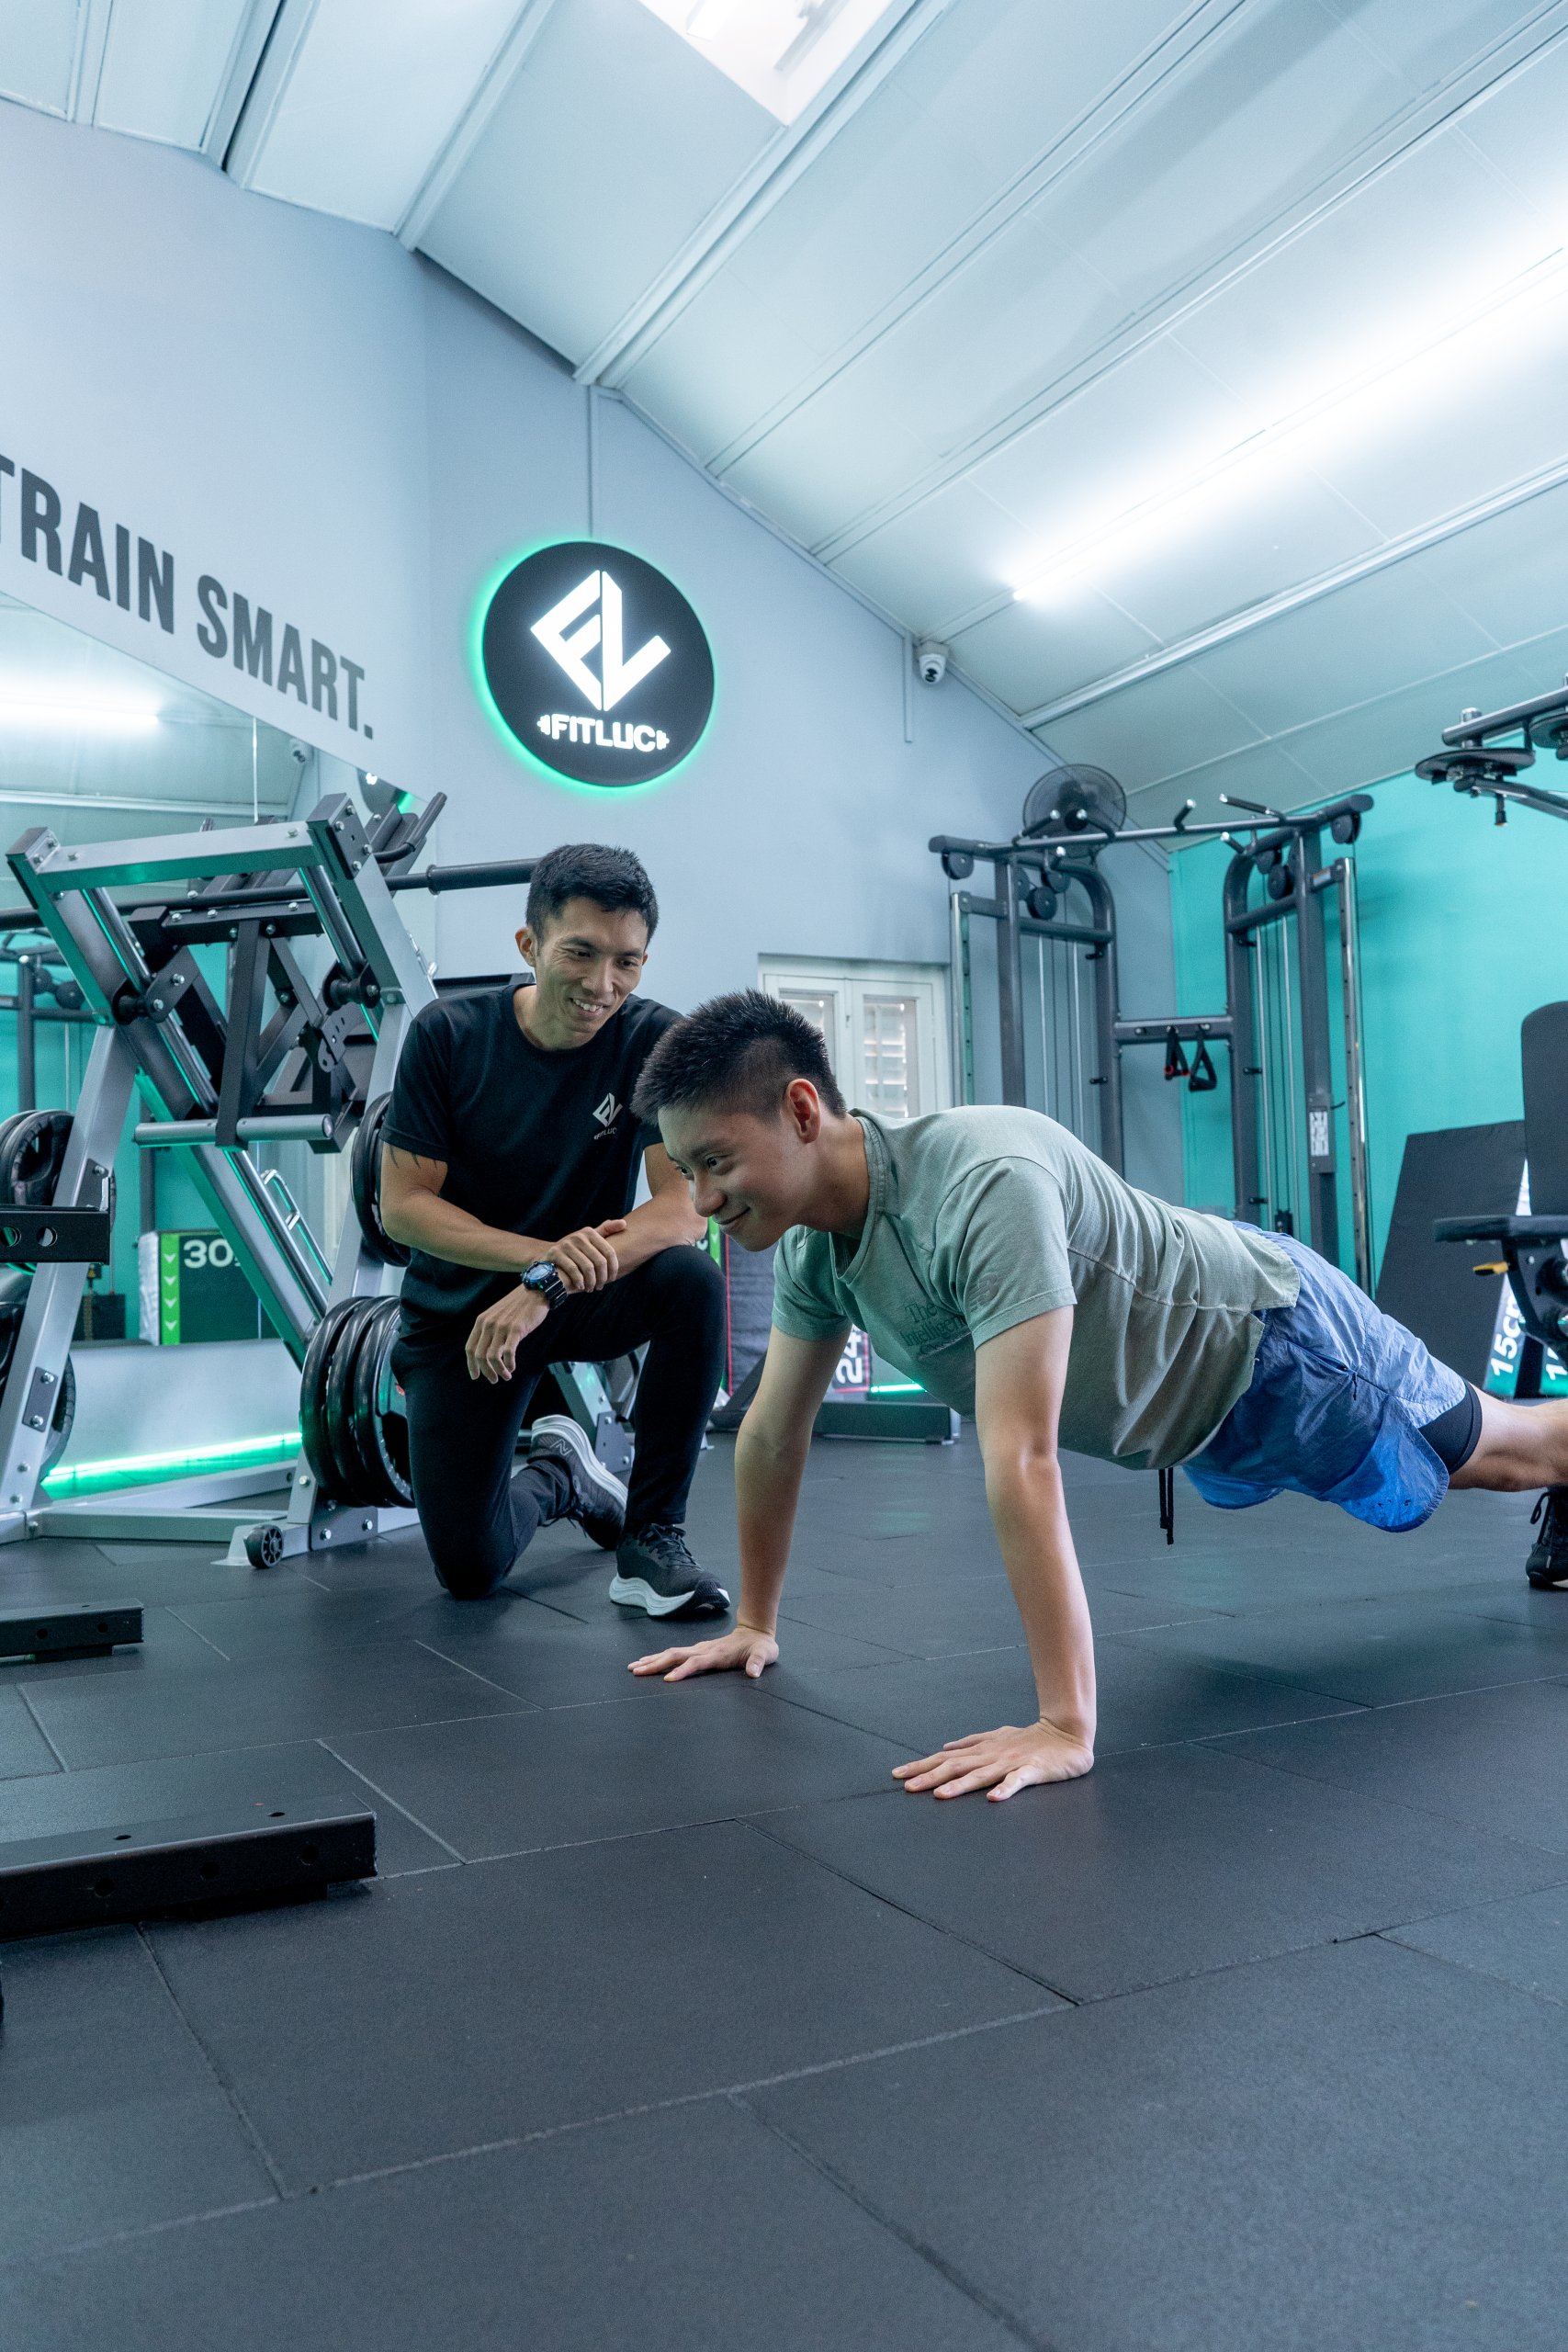
Master Every Machine at FITLUC’s Gyms
Good form is the least glamorous, most underrated thing in fitness—but also the thing that separates people who plateau from people who progress. At FITLUC, one of the best personal training gyms in Singapore, we’ve got every machine in this guide, certified trainers who’ve seen it all (and can fix most of it in five minutes), and convenient locations that make excuses a little harder to justify. We count some of Singapore’s best-known faces among our members. Household name or not, there’s always room for one more.
Book a PT trial with us and give yourself the best possible starting point!